Editing sprites and CGs.
For this tutorial you will need Paint Tool SAI, and a program for editing images, such as Photoshop or GIMP.
This is less of a technical tutorial and more of an artsy tutorial. It’s a good way of messing with in-game assets without being able to actually… draw.
Before we start, it’s worth noting that an edit is both less impressive than original work, and more time consuming, so don’t be a Baka Taka, and start a project that doesn’t rely on an art style you can’t work with.
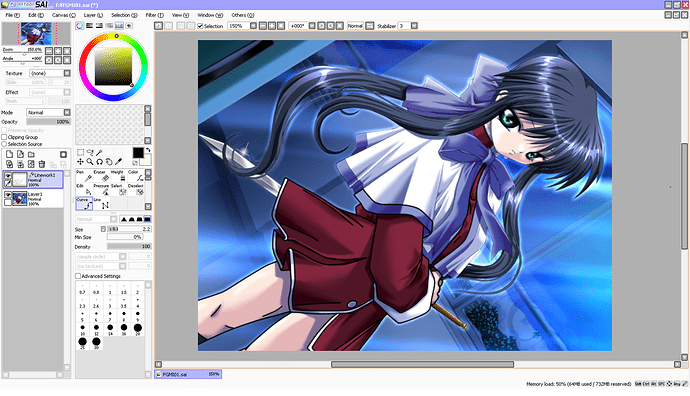
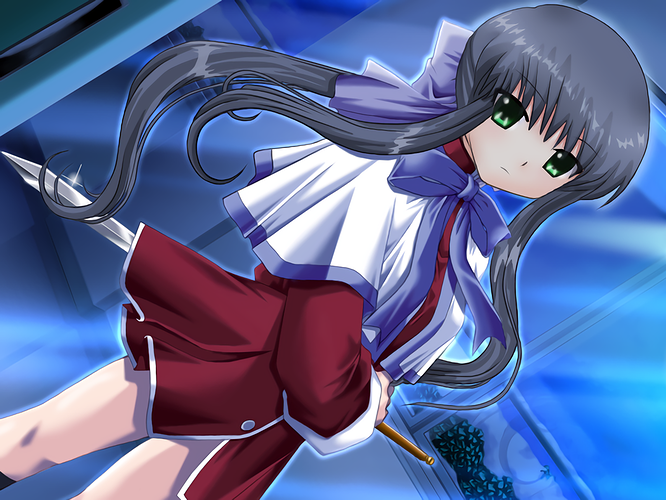
I will be working to modernize a CG from Kanon. You could do the same, or you could mess with sprites, or you could create a whole new image.
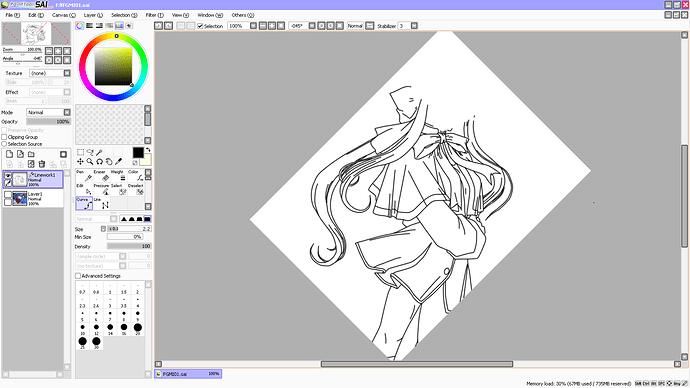
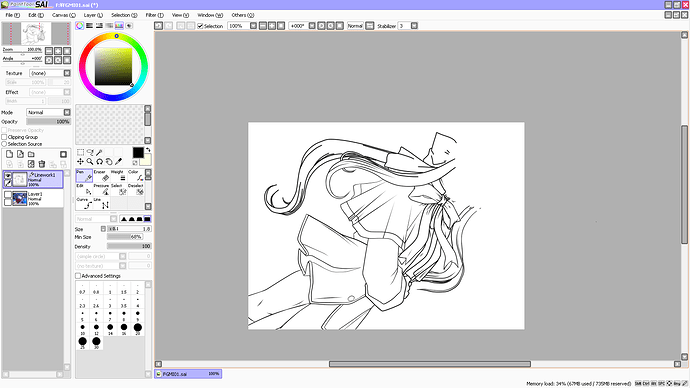
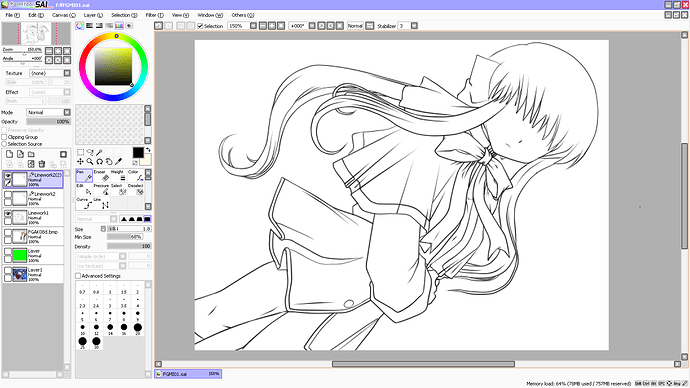
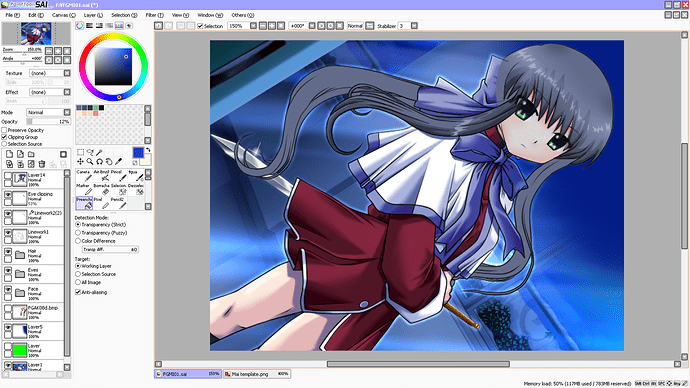
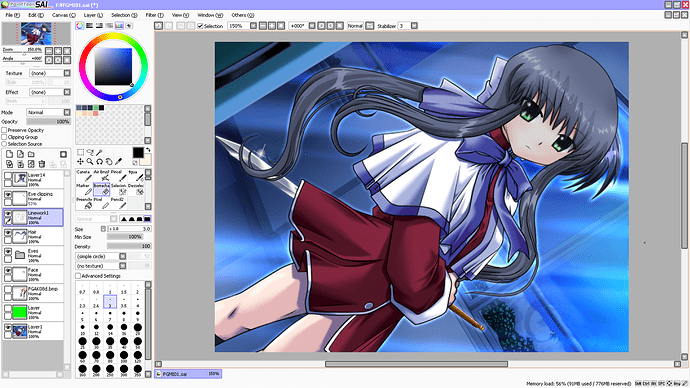
First up, I get the CG I plan to edit. I open it up in Paint Tool Sai, and trace over it to create some fairly decent line art. As I go over it, I keep in mind the differences between this older art style and the modern Key style I am trying to emulate. There are various differences, but the basics come down to this: Where there is a shades crease in the old art, there is a line in the new art. Everything else in the newer style is cleaner though, so less lines in the hair, blockier fringes. Keep it simple. I also keep out the faces, because they are easier to do without reference.
Keep the background in mind. If you can use it in your edit, then use it. There’s no point recreating something that is already perfect.
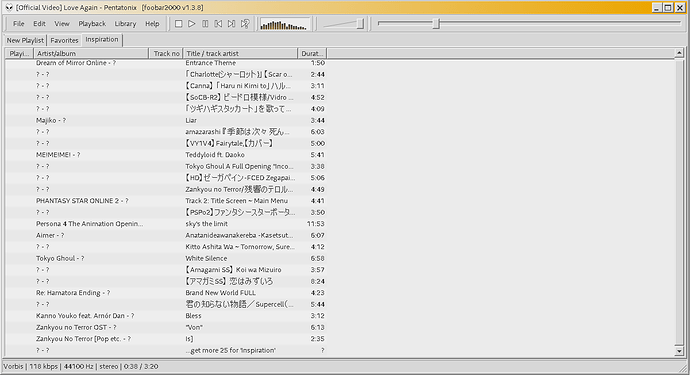
Since I am using a mouse, this process can take quite some time. I like to do bits and pieces of it throughout the day so that I don’t get bored. It’s nice to switch up the BGM for these types of things too, y’know? When I start, I might listen to Badministrator. A few hours later I’ll have switched it over to nostalgia fuel like Stereopony. Zhiend are a nice current group for you Key fans, so listen to them or something. Nowadays I just throw everything into foobar and hope it has good taste… Maybe have lunch or dinner while you work, watch some cat videos, and tweet some bad puns.
Once you are done, you can sit back and look proudly at your cheap ripoff of an artist’s work. Look at it from every angle in wonder!
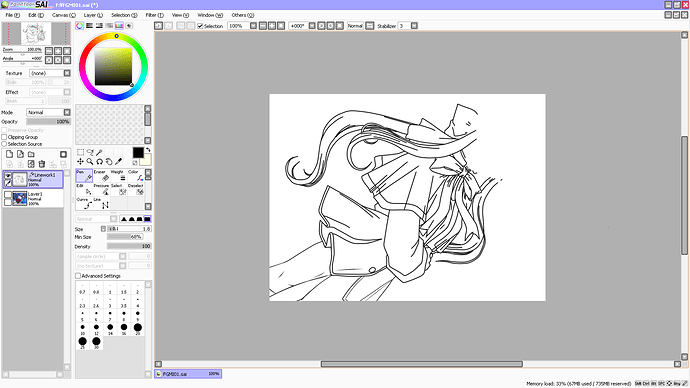
Now… If you are using a mouse like me, it’s time to go through and adjust the pressure of every line you just drew. So… See you in some hours!
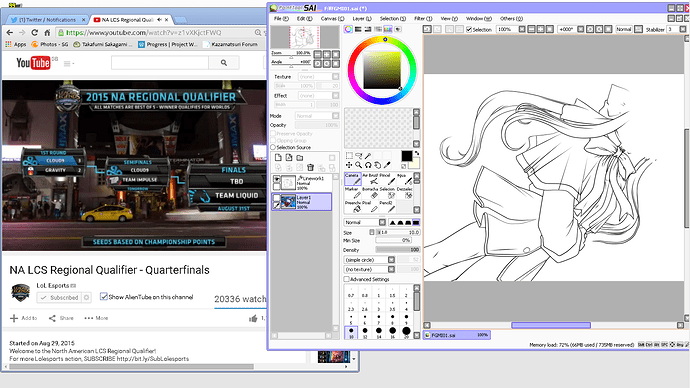
By the time you realize North America is bad at League of Legends, you should have completed your line art. Save it, export it as a psd, and then get ready to actually start making something!
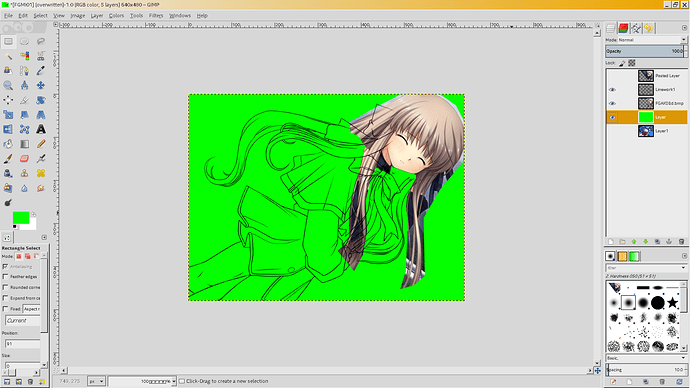
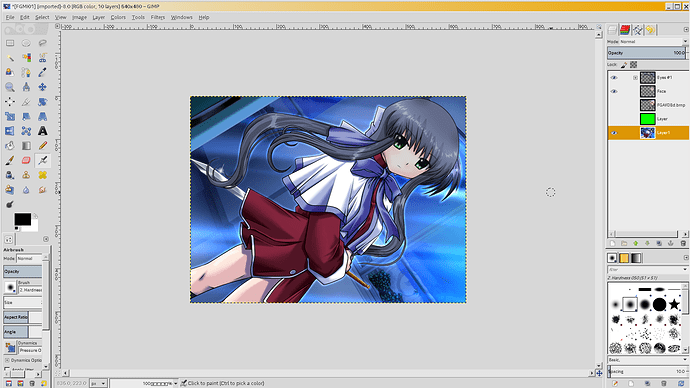
Using your favorite image editing software (I use GIMP, but Photoshop is good too. You can also stick with SAI for this, but it’s trickier!) open up the exported psd file. You should have your line art on an individual layer. Add in a new layer below that, and fill it with a nice contrasting color. I like to go with green.
Find a source image that has something you want, then cut out it out and throw it onto your lines. I’m adding in a new head, so I find a suitable image of a head, and place it where I want. You can do this with arms, legs, hair, eyes… Anything really.
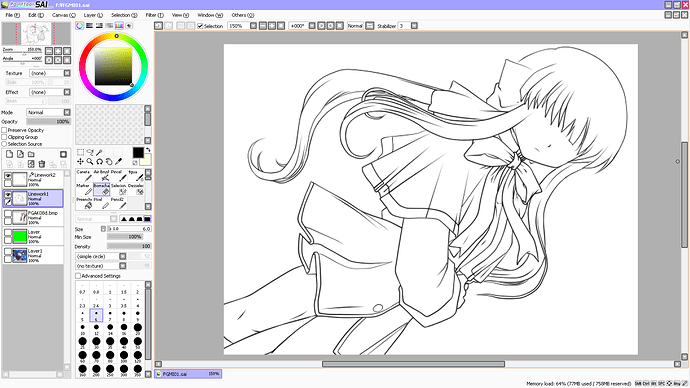
Save the psd, reopen it in Paint Tool SAI, and alter your lineart to include the head.
Then you can do some cleanup and some alterations. Make it look more like it’s supposed too~
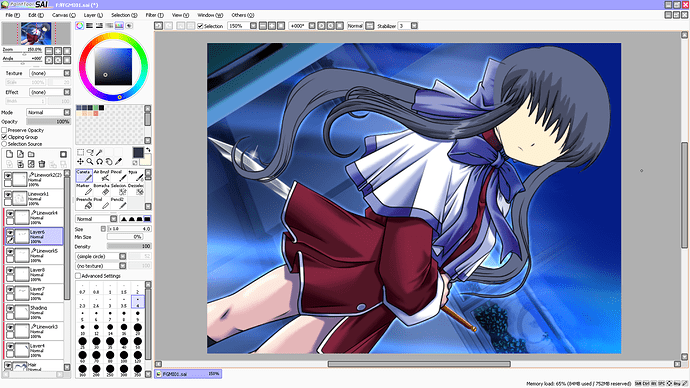
Now you can color it in! Luckily I am only doing a minor edit, so I will only need to color in the face and the hair! You’ll recognize the bits that need a color change as you go along.
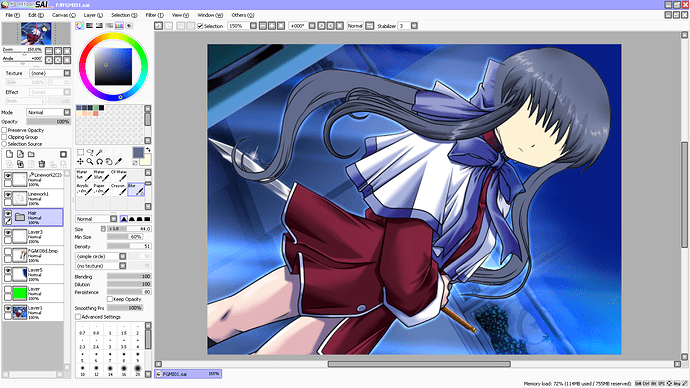
As you can see, I start off by filling in the areas with a single color. I then add some really dark shading around creased areas. In a slightly lighter color, I do the rest of the shading.
When coloring the hair, I use the Blur tool more than I should. For the highlights, I draw the zig-zag shape out, and then create a layer below that, surround the zig-zag in the same flat color, and then blur it to create a slight gradient. For the shading on the fringe, I blur the ends, both on the hair and on the skin.
Speaking of the skin…
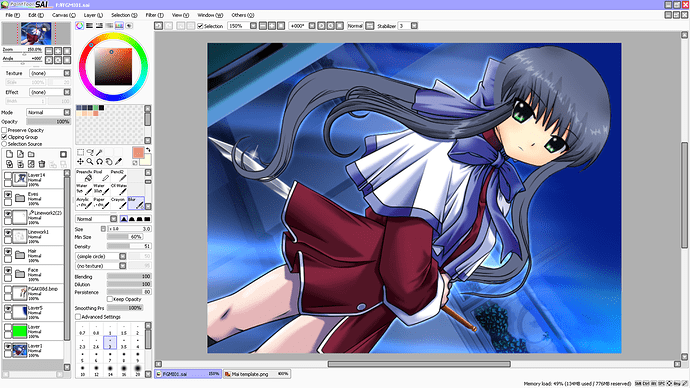
This is blur city. Make your brush big, fill in a whole area with a single color (dark orange for shading, light pink for blush) and then just blur it. Don’t forget to add a shadow under the nose! Noses do still exist in anime!
Eyes can be a tricky beast if you aren’t used to working with them. If you are bad with symmetry, or can’t get the shape down, you can look at the eyes from works that fit with your vision, and then alter the design to match your tastes. Once you get used to doing eyes, this’ll be the quickest step.
Since I am mimicking a modern Key style, I edited the Rewrite eyes to fit my needs:

If your eyes overlap with your fringe, first, make sure they are underneath your hair layers. Then copy your eyes onto a new layer, move it above your hair, and lower the opacity of the layer until it looks good.
Now, since my image is a night-time scene, I need to fix my image’s colors.
I simply create a new layer, fill it with a blue, and then drop the opacity to around 10-20% depending on what shade of blue I used.
Once you are done, save the .sai, and save a backup of the .sai.
If you have any slight changes you’d like to make, merge all of the layers you are happy with (all of the hair layers/skin layers etc…) and delete any waste layers. Then save that as a .psd and open it with your favorite image editing software.
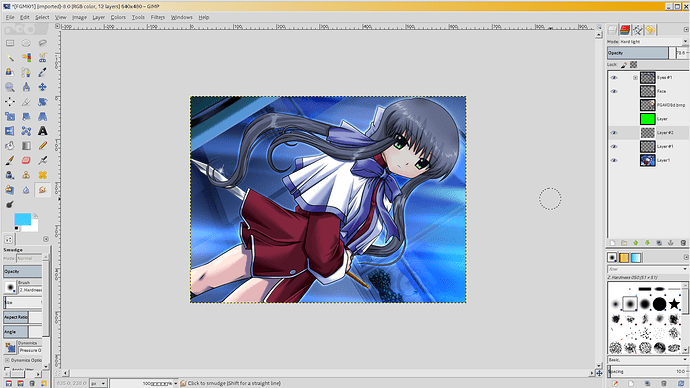
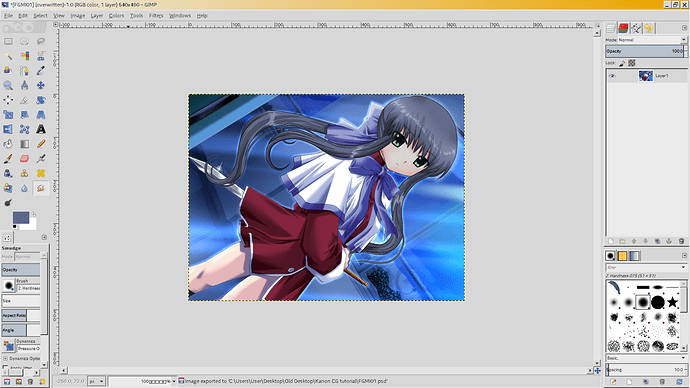
As you can see, my image has a bit of a problem. The background needs to be edited to match my edit. If you have the same problem, you can use the clone tool to fix it. Since there’s no godly blur tool in gimp, I make use of the smudge tool during this step.
Finally, some quick details that need fixing.
And there we go! It’s a long process, but it gets results! You may end up skipping steps, or adding new things depending on what it is you are creating, but with this method, you can effectively create a whole new scene.
