Instructables
A step-by-step guide to removing H-scenes
Censorship is something you need to be very careful about. Removing H-scenes has a purpose, to make it friendly for all ages, however it can be easy to overstep and censor things that don’t need to be. Removing content is something you DON’T want to do.
Today I’ll be working with Tomoyo After, an amazing VN that gets overlooked because of it’s introduction. The VN starts with lots of H-scenes, so the focus point of this project will be at the start of the VN. Naturally, if you are censoring a different VN, you will have to look into different seen files to find the H-scenes.
Oh, and this process is nsfw… so don’t do it while family are around.
I start by copying kprl.exe from my rldev/bin folder, and pasting it in the Tomoyo After folder. Then I open up cygwin.

In my Tomoyo After folder a new folder has been created named “seen_files.” In that folder is the script to Tomoyo After.
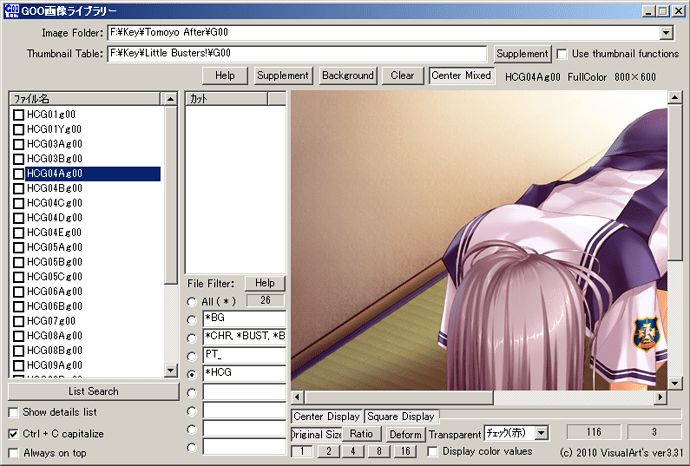
Then, following the steps in the “viewing g00 files” tutorial, I open up g00libMax.
For most VNs, you will have to search through all of the CGs for the HCGs. Luckily Tomoyo After was so lazy with it’s fanservice that all of the HCGs are labeled “HCG.”
Once you’ve figured out the naming scheme for CGs in your game, you can single them out with a filter.
Now my favorite tool for editing seen files - Notepad++
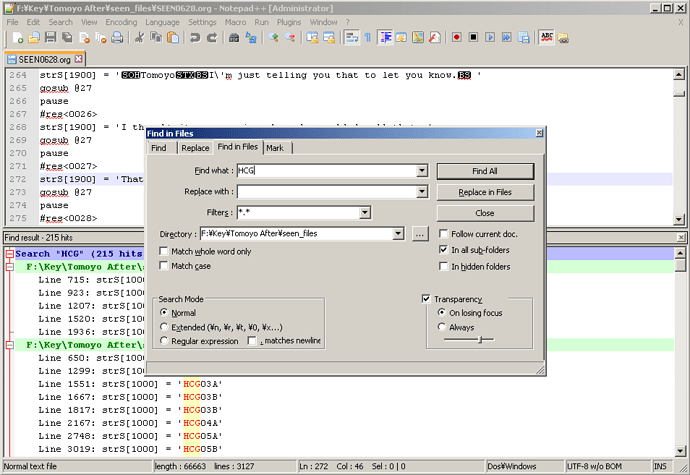
I open up Notepad++ and press ctrl+f. This opens up a find menu. I click the “find in files” tab, and then type in the name of a HCG g00. I set the directory to my Tomoyo After folder, and begin my search!
You can see all the results in the bottom half of Notepad++. Double clicking a line will bring it up in the top half.
We can now read through the scene leading up the the h-scene, and we can look through the VN and see what exactly is going on.
Now, I have a bit of a dilemma. The H-scene I’m working with has some character development.
Luckily, the lead up to the H-scene starts with a fade-from-black. We can just move the development to a more suitable place, such as before the fade-to-black happens.
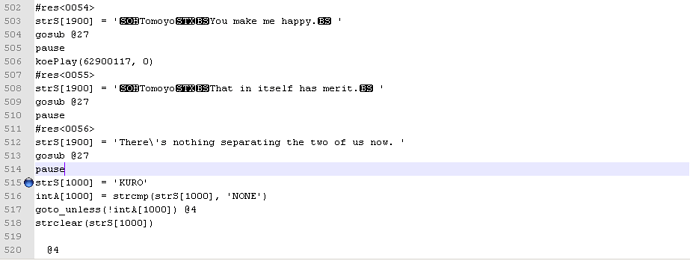
So now I look for a nearby “KURO” in Notepad++. This is the fade to black. I click on the line number, and set a mark to remember where the line is.
![]()
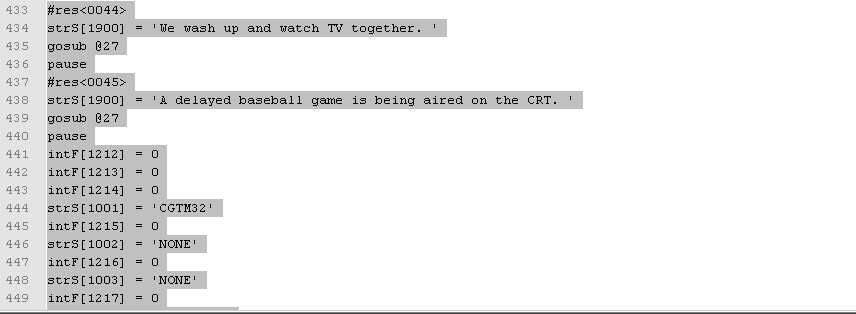
I highlight all of the character development starting from #res<0044> and ending with pause.
I then paste that just above the KURO line.
Finally, you might want to delete the KURO line depending on how your scene continues. Generally you will figure this out as you play test your completed seen file.
There we go! All the important stuff is safe from censorship. Since I have a fade-to-black, there is a new section of script right after it. This is marked by an @4 at the top. I keep all of the bits with “NONE” in, and find two lines near the bottom of the NONE section.
SET_WAIP_WINDOWCLOSE_OFF
SET_GRPCOM_WINDOWCLOSE_OFF
Everything after that until the H-scene ends gets deleted, making sure to follow it up with the #res of the text right after the H parts of the H-scene have ended.
If there is no important text right after the H-scene, you can just delete the whole thing up until the next @number section.
Now I alter some of the text to fit in a non-H context, and the scene is done. Now I save the file in my Tomoyo After and go back to my “seen_files” folder.
I copy the .utf file with the same name as the seen I edited, and paste it into the Tomoyo After folder.
Now I go back to Cygwin and type:
rlc -o SEEN0628 -d new_seens -e utf8 seen0628.org
This compresses the file so that the VN can read it.
However…

An error! I’ve deleted something I shouldn’t. Hopefully your seen compresses fine, but if you get an error like this, you have to go back to notepad++ and find the error.
Line 386 is where I moved the non-H content to. The error?

I accidentally put “pause” and “#res<0044>” on the same line! A press of the enter key, and everything is fixed.

Now I can go into my “new_seens” folder and move the new seen file into my Tomoyo After folder.
Now you can test it! Delete that fade to black if you need to, and make sure everything is coherent and with the correct sprites… Or just listen to the beautiful title music of your VN. That is nice to do as well.
If you have a copy of Tomoyo After, and would like to see the result of this step-by-step, you can download the seen file here. The whole of the first day will be censored, and you can see the results within a minute of starting a new game.
